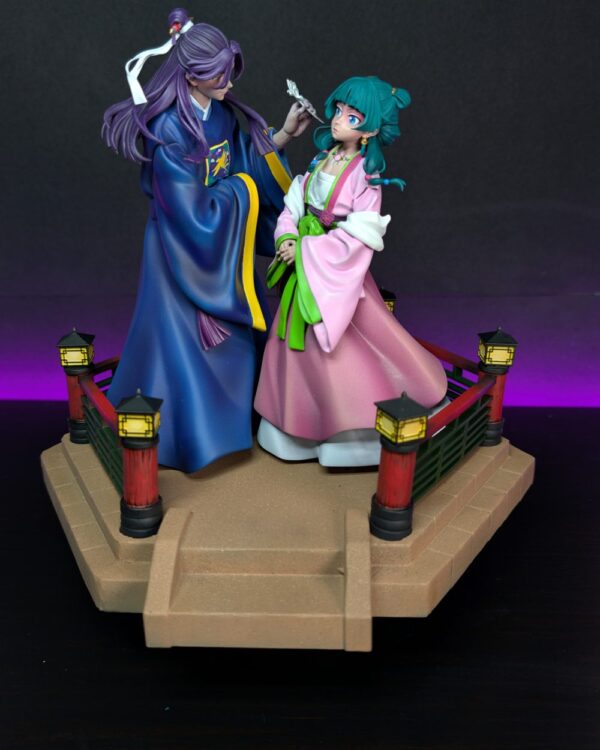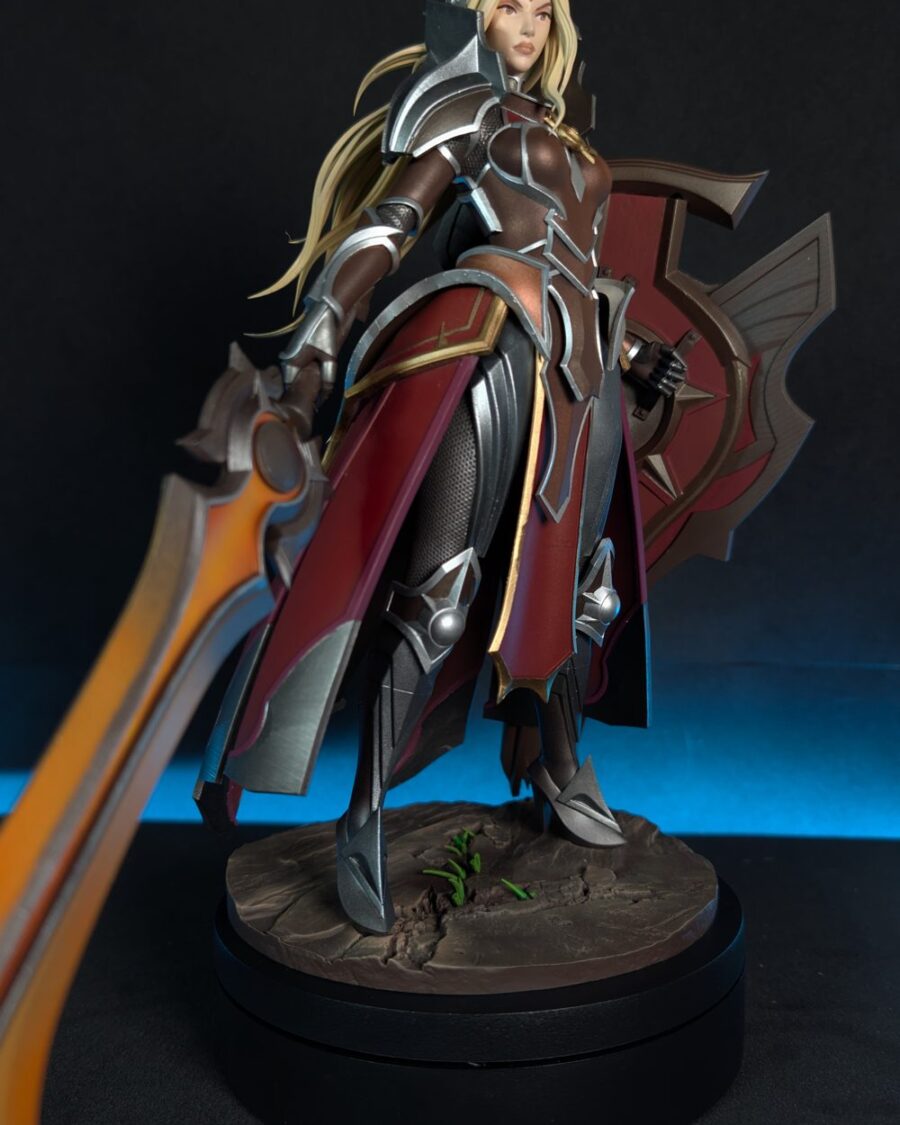
Here is how to assemble a resin garage kit in six steps: check the parts, wash them, clean off the support nubs, test fit, pin and glue, then fill the gaps. You do not need a workshop; a kitchen table, a hobby knife, sanding sticks and super glue will build almost every kit I ship.
I wrote this for a 3D-printed resin kit like the ones I print to order in Spain, but the steps are the same for a cast resin garage kit. New to the hobby? Start with what a garage kit actually is.
Before you start: unbox and check every part
Lay every part out on a towel and compare it with the listing photos. An unpainted kit from me arrives unassembled: the figure in parts plus the base, in grey resin, with clear resin for transparent parts such as ice or flames. Look for cracks, missing pegs and bent thin parts. A 3D-printed kit has no mould seams and no flash. It has support contact points instead, where the printing supports touched the model. I remove the supports and hand clean every contact point before packing; you will still want a final pass with a sanding stick. Check everything before you cut or sand. If something arrived damaged, photograph it as it is and write to me within 48 hours of delivery.
Tools for assembling a resin garage kit
The first four rows build a simple standing 1/8 figure; the rest make the job cleaner.
| Tool | What it is for | Budget alternative |
|---|---|---|
| Hobby knife, fresh blades | Slicing nubs off in thin shavings | Snap-off utility knife |
| Sanding sticks, 400, 800, 1200 grit | Levelling nubs, smoothing seams | Nail buffer blocks from a pharmacy |
| Gel cyanoacrylate (super glue) | Joining every part | Any supermarket super glue |
| Dish soap, soft toothbrush | Washing before priming | Already in your kitchen |
| Pin vise, 1 mm and 1.5 mm bits, brass rod | Pinning heavy parts and the feet into the base | Bit held in pliers; a paper clip as the pin |
| Two-part epoxy putty | Filling gaps | Thick super glue with baking soda |
| Nitrile gloves, FFP2 mask | Dust and glue off skin and lungs | Wet sanding cuts most of the dust |
Step 1: How to wash a resin kit before priming
Every print leaves my bench washed and cured, so the parts arrive dry and no longer sticky. Wash them anyway: warm water, a drop of dish soap, a soft toothbrush, two minutes per part, rinse, air dry. Grease from handling is the main reason primer beads up or lifts on resin figures; a second wash after sanding removes the dust. Avoid hot water (it softens thin parts) and acetone (it can craze cured resin). On a cast kit this matters even more: cast parts carry mould release that primer will not stick to.
Step 2: Remove support nubs and seam lines on a resin kit
Slice each nub away in thin shavings, cutting away from your hand. Never pry; that is how a nub takes a chip of the surface with it. Then sand in three grits: 400 to level what is left, 800 to smooth, 1200 just before primer. Sand wet whenever you can, so the dust becomes a sludge you wipe away instead of breathing. For curves, fold sandpaper over your finger.
Seam lines on a 3D-printed kit appear where a large part was split for printing and where two parts meet after gluing; both are filled after the glue cures, in step 4. Layer lines at 16K are very fine and primer hides them; on a large plain area such as a cloak, a light wet sand with 800 after the first primer coat finishes the job.
Step 3: Test fit, then pin the heavy parts
Dry fit every joint before you open the glue. If a peg is tight, sand the peg, not the hole; if it is loose, a little glue fills the difference. Build from the ground up: base, legs, torso, arms, head, fragile pieces last.
How to pin resin figure parts is the question I get most. Anything heavy or hanging from a small contact point gets a pin: a greatsword arm like Blaidd, a drawn bow and trailing cloak like Sylvanas, or a shield held out from the body like Leona. Drill one side with the pin vise, 1 mm for a 1/8 figure or 1.5 mm for a 1/6 joint. Dab paint on the tip of the brass rod, press it into the hole and touch it to the other part to mark the matching spot. Drill, cut the rod to length, dry fit again, always in the thickest section of the part. The pin that matters most runs from each foot into the base: it keeps a figure standing straight for years.
Step 4: Glue with super glue and fill the gaps
What glue for a resin garage kit? Cyanoacrylate, ordinary super glue, for nearly every joint: gel for pegs and large surfaces because it does not run, thin for hairline cracks because it wicks in by itself, two-part epoxy for a very heavy pinned joint. Plastic model cement does nothing on resin. Use a thin film on both surfaces, press, hold for a minute, then leave it; full strength takes about 24 hours, so do not load a glued arm with a sword until the next day. Accelerator spray cures glue on contact but can frost the surface, so keep it off visible areas.
Once every joint has cured, fill the gaps. Two-part epoxy putty is the cleanest: roll a thin snake, press it in, smooth with a damp finger, let it harden, sand. The budget route is thick super glue with a pinch of baking soda, which sets hard in seconds and sands flat. Sprue goo does not work on resin. Sand with 800 and 1200, wash the dust off, and the kit is ready to paint; the next stage is in my guide on how to paint resin figures.
Safety: resin dust, gloves and ventilation
Cured resin is stable to handle, but sanding and drilling dust should not be breathed in or left on skin. Sand wet, wear an FFP2 mask when you dry sand or drill, and wear nitrile gloves for sanding and gluing. Cyanoacrylate bonds skin in seconds; soak in warm soapy water and roll the skin apart, never pull. Open a window for accelerator and spray primer, and keep children and pets away.
Fixing a warped part, and what to do if something breaks
Thin parts such as swords and long hair can bow slightly in transit. The fix is warm water, too hot to keep your hand in but well short of boiling. Submerge the part for 30 to 60 seconds until it turns pliable, bend it gently against a flat surface, then plunge it into cold water to set. Never do this on a painted part.
If a part breaks during the build, a clean break repairs well: a pin, gel cyanoacrylate, a day to cure, a touch of filler. If a part arrived cracked or with a print defect, that is on me. Send photos within 48 hours of delivery and I reprint and reship the part free; the full policy is on the returns page. If something breaks later in your build, write to me and I will tell you what I can do.
What I do at the atelier
Every kit is printed to order on an Elegoo Saturn 4 Ultra at 16K, in grey photopolymer resin with clear resin for transparent parts. I remove the supports, wash and cure each part, hand clean the contact points, test fit every joint and inspect the print before packing. Parts are hollowed where it makes sense. Figures ship in parts with their base; unpainted kits leave within 1 to 3 weeks. If you would rather skip the build, I also paint figures to order with acrylics.
Questions I get asked about assembly
Is a garage kit hard to build?
Not for a standing figure. The hardest part is patience: letting glue cure overnight before you load a joint. Expect an afternoon of washing, cleaning and fitting, then a short session to fill and sand; dioramas take a weekend.
What glue should I use for a resin garage kit?
Cyanoacrylate super glue: gel for pegs and large joints, thin for hairline cracks, two-part epoxy for a heavy pinned joint. Plastic model cement does not work on resin.
Will I see layer lines or support marks on a 3D-printed kit?
At 16K the layer lines are very fine and primer hides them on most surfaces. Support contact points are hand cleaned before shipping; 800 and 1200 grit finish them.
Do garage kits come painted?
Traditionally no: a garage kit is sold unpainted and unassembled. I offer both: an unpainted kit to build yourself, or the same figure hand-painted at the atelier, dispatched in 3 to 7 weeks.
Does the figure stand without the base?
Plan on using the base. Every kit ships with one, and pinning each foot into it is what keeps the figure upright, especially a pose with an outstretched arm or a heavy weapon.
Every figure in the shop is available as an unpainted kit, printed to order at 16K and shipped in parts with its base. If you would rather have the finished piece without the sanding, the commissions page explains how I paint to order.