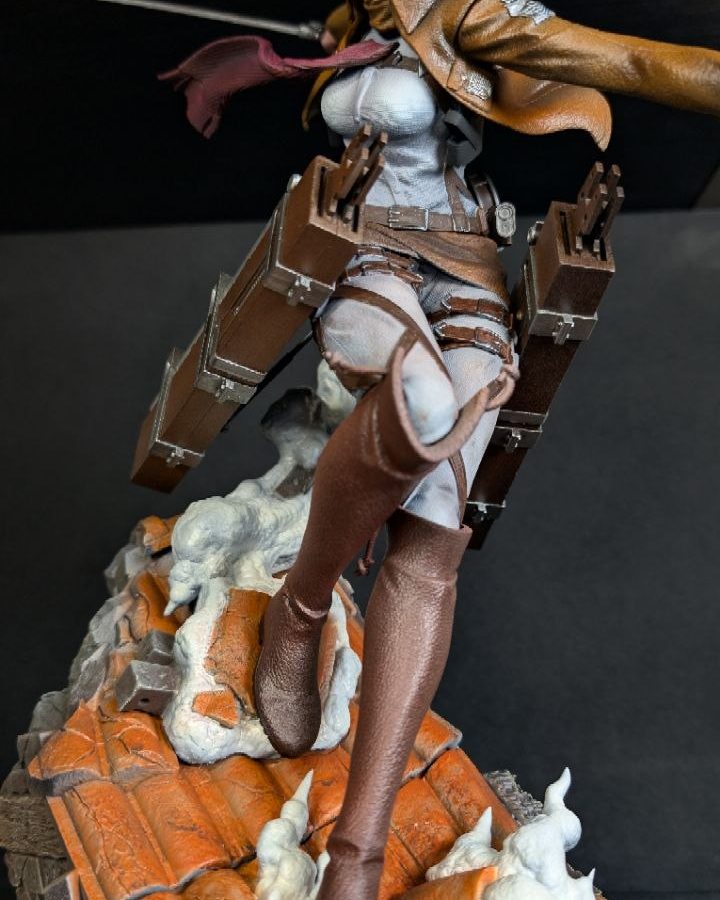
How to paint resin figures, in one sentence: wash the parts, prime them, build colour with thin coats of acrylic, add shadows and highlights, paint the face before you glue the head on, and seal with varnish. You can do all of it with brushes and patience, and this guide walks through each step.
Every figure in my catalogue is offered as an unpainted kit, so the question I hear most is “I have never painted anything, can I really do this?” Yes. A resin garage kit is forgiving if you respect three rules: thin paint, primer first, and paint the parts before you assemble them. Everything else is practice.
What you need to paint a resin figure
You do not need an airbrush. If you own one, use it for primer and large areas; every technique below works with a brush.
| Item | What it is for |
|---|---|
| Dish soap and an old toothbrush | Washing the parts. No solvents. |
| Grey primer, spray or brush-on | Giving paint something to grip |
| Acrylic paints | All colour work. Hobby acrylics ideally; craft acrylics are fine to learn with. |
| Three brushes: flat 6 to 8, round 2, round 000 | Base coats, details, eyes. Synthetic is fine. |
| Sandpaper, 800 to 1000 grit | Levelling support marks and seams, light pressure only |
| Super glue (cyanoacrylate), gel type | Assembling after painting |
| Matte and gloss varnish | Protecting the finish |
| Cocktail sticks and a block of cork | Holding parts so you never touch wet paint |
On paint: acrylics. If you are searching “what paint for 3D printed resin figures”, the answer is the same as for cast resin. Hobby acrylics, the dropper bottles sold for miniatures and model kits, are made to be thinned and layered. Craft acrylics are thicker and a little chalky, but fine for a first kit if you thin them well. Leave enamels and oils for later.
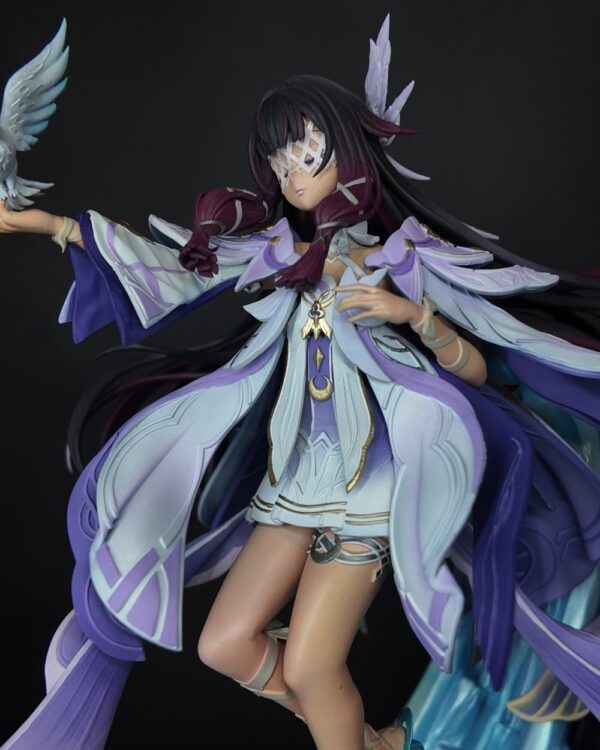
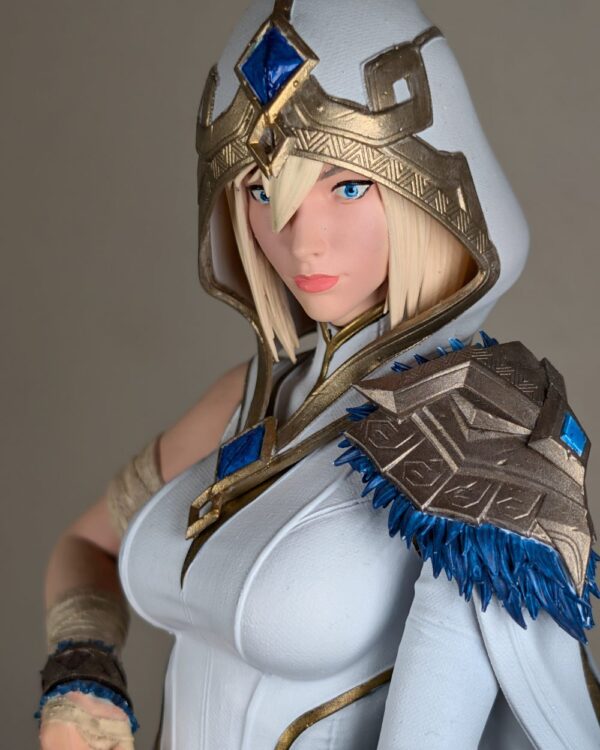
If you have not chosen a kit yet, pick a standing figure with a visible face and a mix of surfaces. Nana Osaki gives you skin, hair, cloth and leather; Akali, from the League of Legends range, adds dark cloth and metal accents for your first metallics; Blaidd adds fur and armour, which are forgiving to dry brush. All three ship as unpainted kits from 72 EUR in 1/8.
How to clean a 3D printed resin figure before painting
Warm water, a drop of dish soap and a soft toothbrush, nothing stronger. Scrub each part for a minute, rinse, and let everything dry overnight. The kits I ship are already washed and cured, so this second wash mainly removes fingerprints and packing dust. If a kit feels tacky or smells strongly of resin, wash it twice and give it a few hours of indirect daylight before priming.
Then check. Look for small nubs where supports were removed and for seam lines where parts meet, and level them with a light pass of 800 to 1000 grit sandpaper. Do not sand through detail: on a 16K print the texture of hair strands and fabric folds is shallow. A deep seam gets a little modelling putty, a sand and a spot of primer.
Finally, dry-fit everything without glue and note which areas you will not reach once the figure is together: the inside of a cape, the back of a neck under hair, the underside of an arm. Those get painted before assembly. Pins, pegs and glue are covered in my guide on how to assemble a resin garage kit.
Best primer for resin figures, and how to apply it
Primer is a thin coat that grips bare resin and gives paint a surface to bond to. Without it, acrylics bead on smooth resin, rub off at the edges and chip the first time you handle the figure. It also shows you every flaw before colour hides it. Never skip it.
Spray can or brush-on
Spray primer is the easiest way to get a thin, even coat. Shake the can for two full minutes, work outdoors or at an open window, hold it about 25 to 30 cm from the part and sweep across in light passes. Two thin coats beat one heavy coat every time. Brush-on primer suits touch-ups or flats where you cannot spray; thin it slightly and keep the brush moving.
Grey, white or black
The best primer for resin figures is grey. It is neutral, shows detail clearly and lets both light and dark colours cover in two or three coats. White makes bright costumes and pale skin glow but needs more coats of colour to hide, and every missed spot shows. Black gives instant depth in recesses and suits dark armour and metallics, but you will fight it for skin and yellows. A good compromise is to prime grey and then brush a little white onto the face and the surfaces that should catch light.
Base coats: how to paint resin figures without brush marks
A base coat is the flat, even colour each area has before shading. The mistake almost everyone makes is painting straight from the pot. Thin the acrylic with water or a drop of acrylic medium until it flows like milk, load the brush, wipe the excess on a paper towel and apply. The first coat will look streaky and transparent. That is correct. Let it dry ten minutes, apply a second, then a third if needed. Three thin coats dry smooth; one thick coat fills the detail.
Work from large to small: skin, then the biggest costume areas, then trim and accessories. Paint each part on its cocktail-stick handle and keep a clean damp brush nearby to lift strays before they dry.
Shading and highlighting: washes, layering and dry brushing
A base coat alone looks like a toy. Shadows and highlights make a 25 cm figure read as a sculpture, and a first-timer only needs one or two of these three techniques.
Washes. A wash is very thin paint, about one part paint to four or five parts water or medium, in a darker tone of your base colour. Brush it over the whole area and it flows into the recesses, darkening folds and creases while barely tinting the raised surfaces. Let it dry fully before touching it; wet, it looks like a disaster, dry, it looks like shading.
Layering. Layering means painting progressively lighter versions of the base colour onto the raised surfaces, each layer covering a smaller area than the last. Mix the base with a little white, thin it, and paint only where light would strike: the top of a shoulder, the bridge of a nose. Two or three steps are plenty at this size.
Dry brushing. Load a flat brush, wipe almost all the paint off onto a paper towel until the brush looks dry, then flick it lightly across the surface so the paint catches only on edges and raised texture. Perfect for hair, fur, chainmail, rocky bases and worn leather; terrible for smooth skin and glossy fabric.
Skin, eyes and metallics: the hardest parts
Skin is the largest smooth area on most figures and has nowhere to hide. Start with a mid-tone base in three thin coats. Then brush a very thin wash of your skin colour with a touch of reddish brown only into the creases: between fingers, under the jaw, around the collarbone. Finish with one or two layers of the base mixed with a little ivory on cheekbones, nose, knuckles and shoulders. Keep every coat thin.
Eyes are the part most people fear, and three tricks make them manageable. First, paint the eyes before you glue the head to the body or the hair to the head. Second, use a 000 brush with well-thinned paint and work in layers: white, the iris as a circle, a darker ring and a pupil, then one tiny dot of white for the reflection. If a stroke goes wrong, let it dry and paint the white back over it. Third, waterslide eye decals are a legitimate option; many commercial figures use them. Apply them over a gloss coat and seal with varnish.
Metallics
Metallic acrylics contain flakes that clump if the paint is too thick, so thin them a little less than normal paint and stir rather than shake. Paint them over a black or dark brown base; metal over white looks like plastic. A thin dark wash into the recesses, then a light dry brush of brighter silver or gold on the edges, finishes armour and blades.
Varnish: matte or gloss, and where each belongs
Varnish protects acrylic paint from fingerprints, dust and handling, and evens out the different sheens thinned acrylics dry to. Spray varnish is easiest to apply evenly; brush-on varnish is for adding gloss exactly where you want it.
| Finish | Where it belongs | Why |
|---|---|---|
| Matte | Skin, cloth, hair, most of the figure | Kills shine, hides brush texture, reads as fabric and skin |
| Satin | Leather, some hair, painted bases | A middle ground that still looks natural |
| Gloss | Eyes, lips, gems, glass, polished armour, wet effects | Catches light, reads as wet or hard |
The order matters. Seal the whole piece in matte first, let it cure for a day, then add gloss with a small brush only where you want it. Spray varnish like primer: shaken well, dry air, thin coats. Humid days make matte varnish frost white; a light coat of gloss on top usually clears it.
Common mistakes and how to avoid them
- Thick paint. The root of most unhappy kits. If brush ridges show or detail looks soft, thin to milk and build coats.
- No primer. Paint flakes at the edges within weeks.
- Painting after assembling. A brush cannot reach inside a hairline or under an arm. Paint the parts, assemble, then touch up the joins.
- Gluing over unchecked seams. A seam under paint looks worse than one in bare resin. Fill, sand and re-prime before colour.
- Rushing the varnish. Varnish over paint that is still curing, or on a humid day, gives you frosting. Wait a day after your last coat and pick dry weather.
How long does a garage kit take to paint?
For a first-timer with brushes, the honest answer is a handful of evenings spread over two to four weekends, and most of that is waiting for coats to dry: an evening to wash and sand, a short session to prime, one or two evenings of base coats, two or three of shading, one for the face, then assembly and varnish, with a day of curing after primer and after varnish.
When to commission a painted piece instead
Not everyone wants a new hobby, and that is fine. If you want the figure on a shelf this season, have nowhere to spray, or are buying a gift, a hand-painted figure from the atelier is the sensible route. I paint with acrylics, with shading and detailing, and can follow a custom colour scheme if you send references. Hand-painted pieces start at 380 EUR in 1/8 and 518 EUR in 1/6 (complex pieces cost more) and are dispatched in 3 to 7 weeks, tracked, from Spain. How the service works is in my anime figure painting service guide, or go straight to commissions.
What I do at the atelier
Every kit that leaves my bench in Spain is printed to order at 16K resolution in grey photopolymer resin, with clear resin for transparent parts. I remove the supports, wash and cure each part, clean the support marks by hand and test-fit the figure before packing it in parts with its base. The hand-painted finish follows the same path you have just read: acrylics in thin coats, shading and detailing, eyes before the head goes on, and a custom colour scheme when you ask for one. The only difference between my bench and yours is practice.
Frequently asked questions
Do garage kits come painted?
Most garage kits, including mine, are sold unpainted and unassembled: parts and base, supports removed, washed and cured, ready to prime. I also offer a hand-painted finish, painted at the atelier with acrylics, shading and detailing; how it works is on the commissions page.
Do I need an airbrush to paint resin figures?
No. Every technique in this guide is done with brushes. Thin paint and a clean face matter more than an airbrush.
What is the best primer for resin figures?
A grey spray primer made for plastic or model kits. It shows detail, covers evenly and lets both light and dark colours hide in two or three coats.
How long does a garage kit take to paint?
For a first-timer with brushes, two to four weekends of evenings, most of it drying time. If you would rather not wait, my hand-painted figures are dispatched in 3 to 7 weeks.
Should I assemble the figure before or after painting?
After. Dry-fit first, paint the parts separately, glue with cyanoacrylate, then touch up the joins. Paint the eyes before the head or the hair goes on.
Ready to try? Every figure in the shop is available as an unpainted kit, printed to order and ready to prime. And if you would rather have it painted for you, commissions are open.